ACFのGoogle マップで、マーカー指定のみで、マップを表示
ACFでは、編集画面にテキストや、画像を挿入できるフィールドを作ることができます。今回はACFのGoogle マップで、マーカーの位置指定のみで、投稿できる方法を紹介します。
尚、ACFのGoogleマップは、google map apiの取得が必要です。今回は、取得方法の説明は、割愛します。
また、今回もACF設定は、Web制作側が行うもので、管理者が関係するのは、設置のみです。

今回のDEMOは、フランスのエッフェル塔を中心としたGoogleマップです。
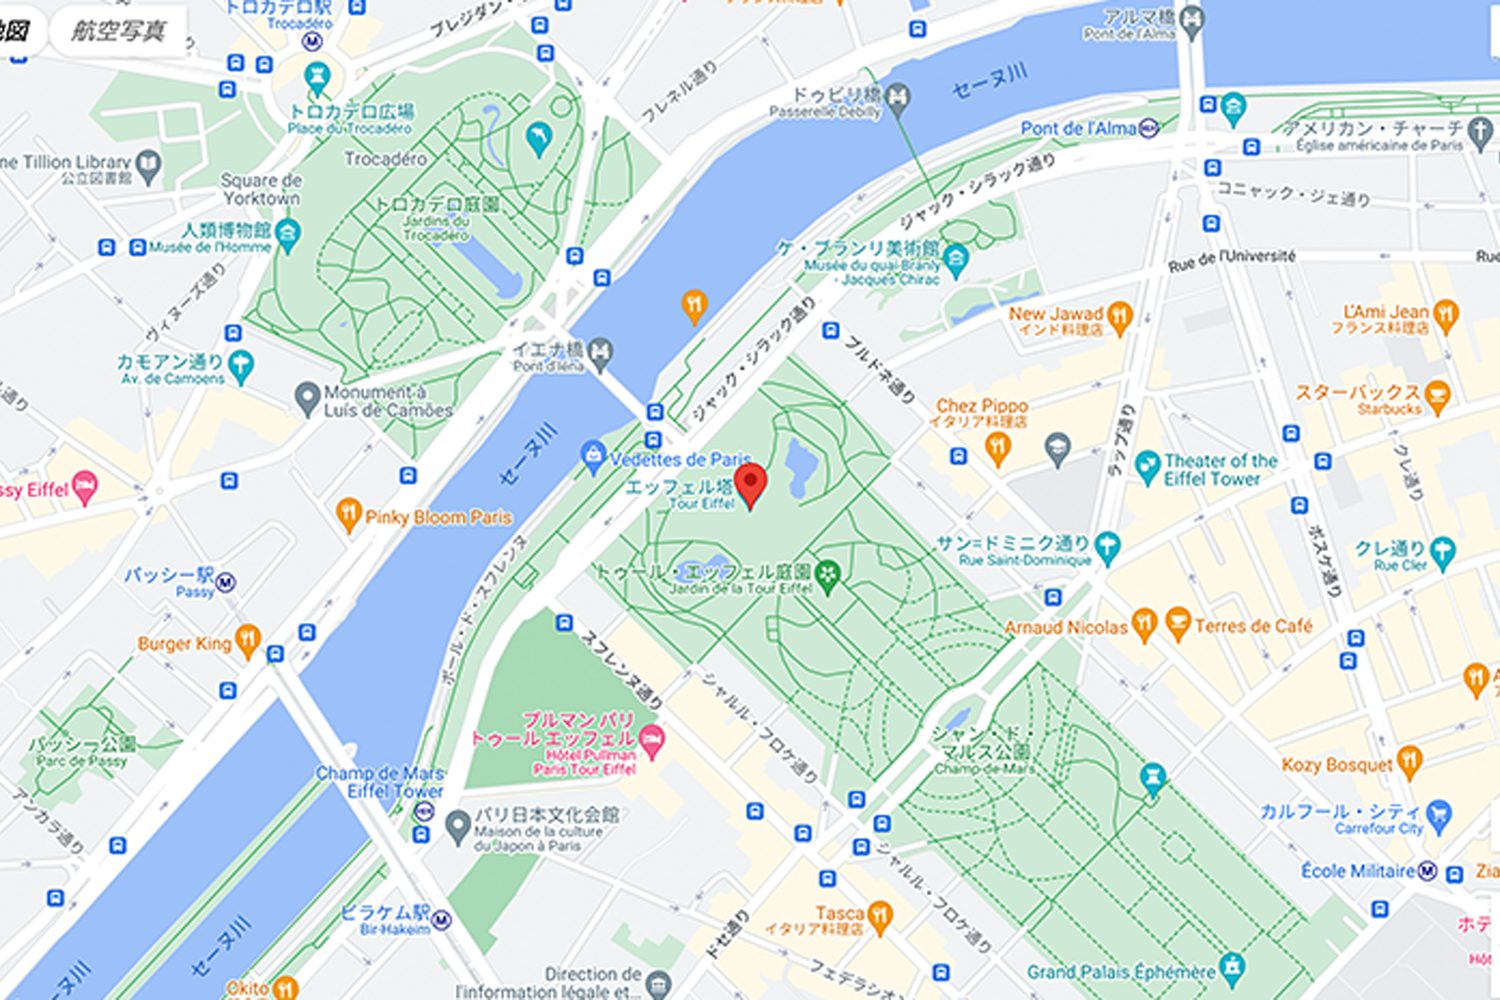
全幅、縦900pxの大きめのマップです。位置を地名検索して表示しています。
ACF設定
まず、ACFの設定をします。ACF>フィールドグループから、設置したいフィールドグループの編集をクリックします。次に、フィールドを追加をクリックし、Google マップを選択します。フィールドラベルに、編集画面に表示する名前、フィールド名にPHPに記入するアルファベットを入力します。今回は、ズームを16、高さを900pxに指定しました。
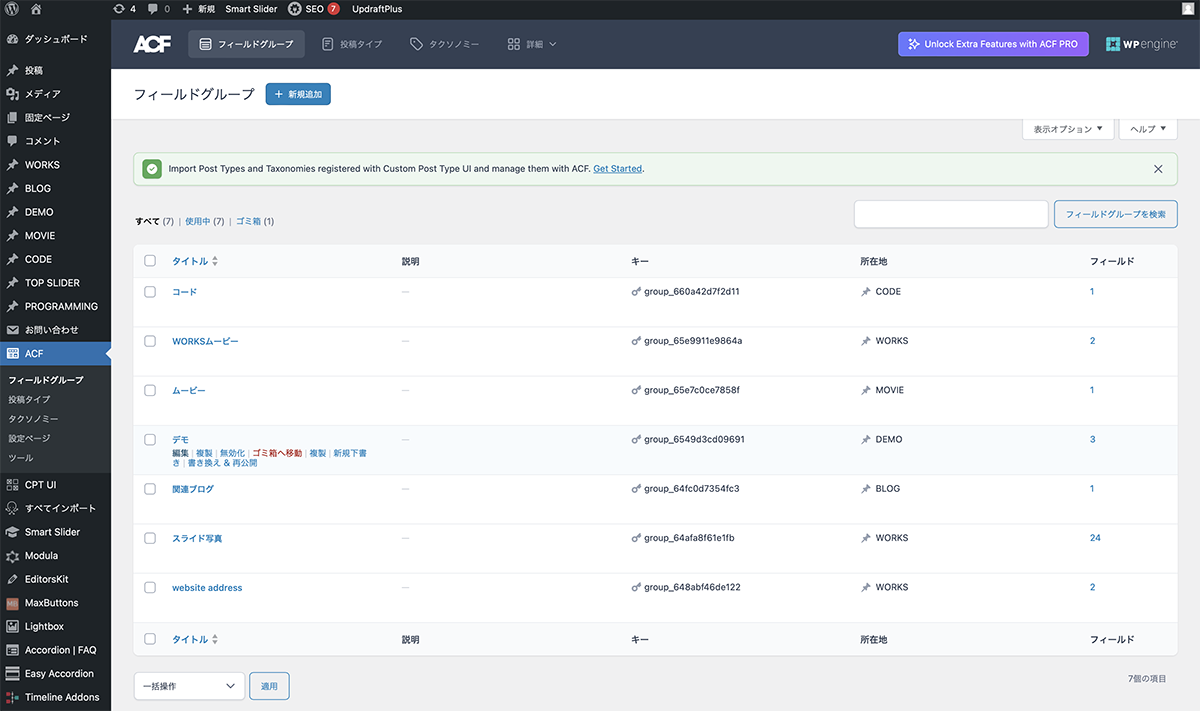
ACF>フィールドグループから、設置したいフィールドグループの編集をクリック
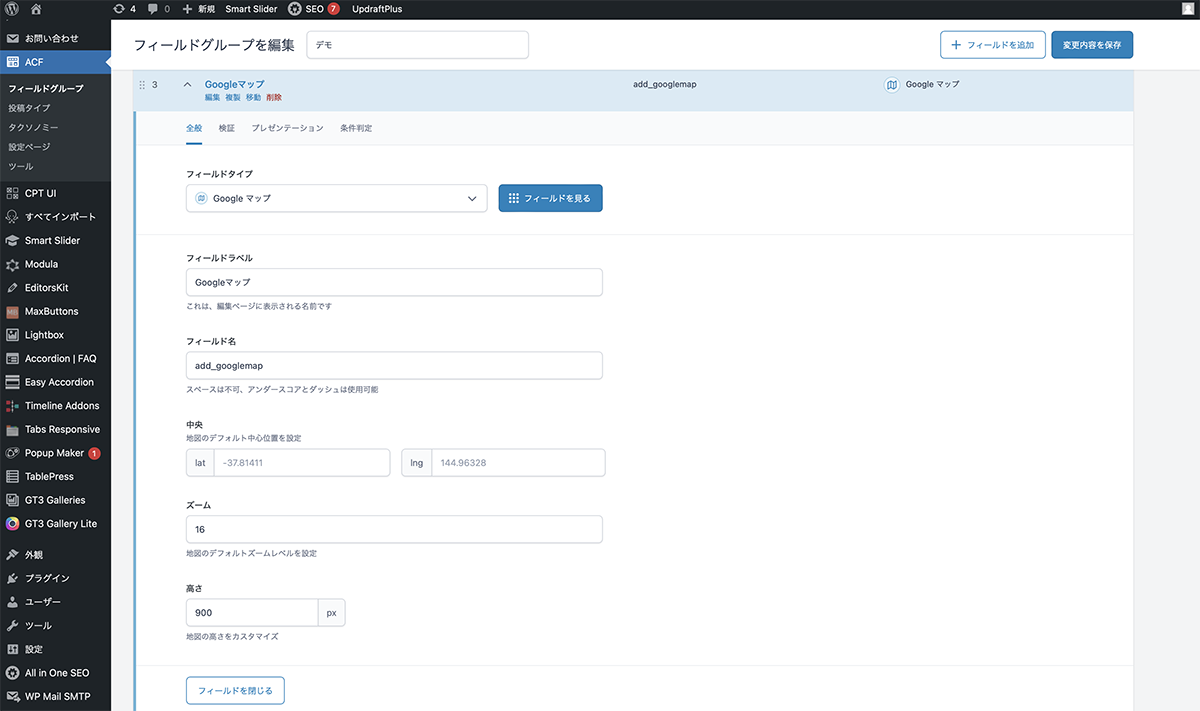
ズームを16、高さを900pxに指定
| 設定項目 | 設定値 |
|---|---|
| フィールドタイプ | Google マップ |
| フィールドラベル | Googleマップ |
| フィールド名 | add_googlemap |
| 中央 | 空欄 |
| ズーム | 16 |
| 高さ | 900px |
コード
Googleマップを表示するPHPのループ内に、下記コードを挿入します。
<?php
$location = get_field('add_googlemap');
if( $location ): ?>
    <div class="acf-map" data-zoom="16">
        <div class="marker" data-lat="<?php echo esc_attr($location['lat']); ?>" data-lng="<?php echo esc_attr($location['lng']); ?>"></div>
    </div>
<?php endif; ?>functions.phpに下記のコードを記入します。APIキーにgoogle map apiキーを入力します。
//ACF GoogleMap
function my_acf_google_map_api( $api ){
    $api['key'] = 'APIキー';
    return $api;
}
add_filter('acf/fields/google_map/api', 'my_acf_google_map_api');Googleマップを表示するPHPに下記JavaScriptを読み込みます。APIキーにgoogle map apiキーを入力します。
<script src="https://maps.googleapis.com/maps/api/js?key=APIキー"></script>
<script src="/js/googlemap.js"></script>
JavaScriptファイルを作成し、任意の名前を付け(今回は、googlemap.js)、下記コードを記入。PHPに読み込みます。
(function( $ ) {

/**
 * initMap
 *
 * Renders a Google Map onto the selected jQuery element
 *
 * @date    22/10/19
 * @since   5.8.6
 *
 * @param   jQuery $el The jQuery element.
 * @return  object The map instance.
 */
function initMap( $el ) {

    // Find marker elements within map.
    var $markers = $el.find('.marker');

    // Create gerenic map.
    var mapArgs = {
        zoom        : $el.data('zoom') || 16,
        mapTypeId   : google.maps.MapTypeId.ROADMAP
    };
    var map = new google.maps.Map( $el[0], mapArgs );

    // Add markers.
    map.markers = [];
    $markers.each(function(){
        initMarker( $(this), map );
    });

    // Center map based on markers.
    centerMap( map );

    // Return map instance.
    return map;
}

/**
 * initMarker
 *
 * Creates a marker for the given jQuery element and map.
 *
 * @date    22/10/19
 * @since   5.8.6
 *
 * @param   jQuery $el The jQuery element.
 * @param   object The map instance.
 * @return  object The marker instance.
 */
function initMarker( $marker, map ) {

    // Get position from marker.
    var lat = $marker.data('lat');
    var lng = $marker.data('lng');
    var latLng = {
        lat: parseFloat( lat ),
        lng: parseFloat( lng )
    };

    // Create marker instance.
    var marker = new google.maps.Marker({
        position : latLng,
        map: map
    });

    // Append to reference for later use.
    map.markers.push( marker );

    // If marker contains HTML, add it to an infoWindow.
    if( $marker.html() ){

        // Create info window.
        var infowindow = new google.maps.InfoWindow({
            content: $marker.html()
        });

        // Show info window when marker is clicked.
        google.maps.event.addListener(marker, 'click', function() {
            infowindow.open( map, marker );
        });
    }
}

/**
 * centerMap
 *
 * Centers the map showing all markers in view.
 *
 * @date    22/10/19
 * @since   5.8.6
 *
 * @param   object The map instance.
 * @return  void
 */
function centerMap( map ) {

    // Create map boundaries from all map markers.
    var bounds = new google.maps.LatLngBounds();
    map.markers.forEach(function( marker ){
        bounds.extend({
            lat: marker.position.lat(),
            lng: marker.position.lng()
        });
    });

    // Case: Single marker.
    if( map.markers.length == 1 ){
        map.setCenter( bounds.getCenter() );

    // Case: Multiple markers.
    } else{
        map.fitBounds( bounds );
    }
}

// Render maps on page load.
$(document).ready(function(){
    $('.acf-map').each(function(){
        var map = initMap( $(this) );
    });
});

})(jQuery);
設置
編集画面にGoogleマップが表示されます。検索ボックスに住所を入力します。今回は、「エッフェル塔」と入力しました。選択肢が表示されるので、一番上の選択肢をクリックします。マーカーが設置されるので、これで完成です。
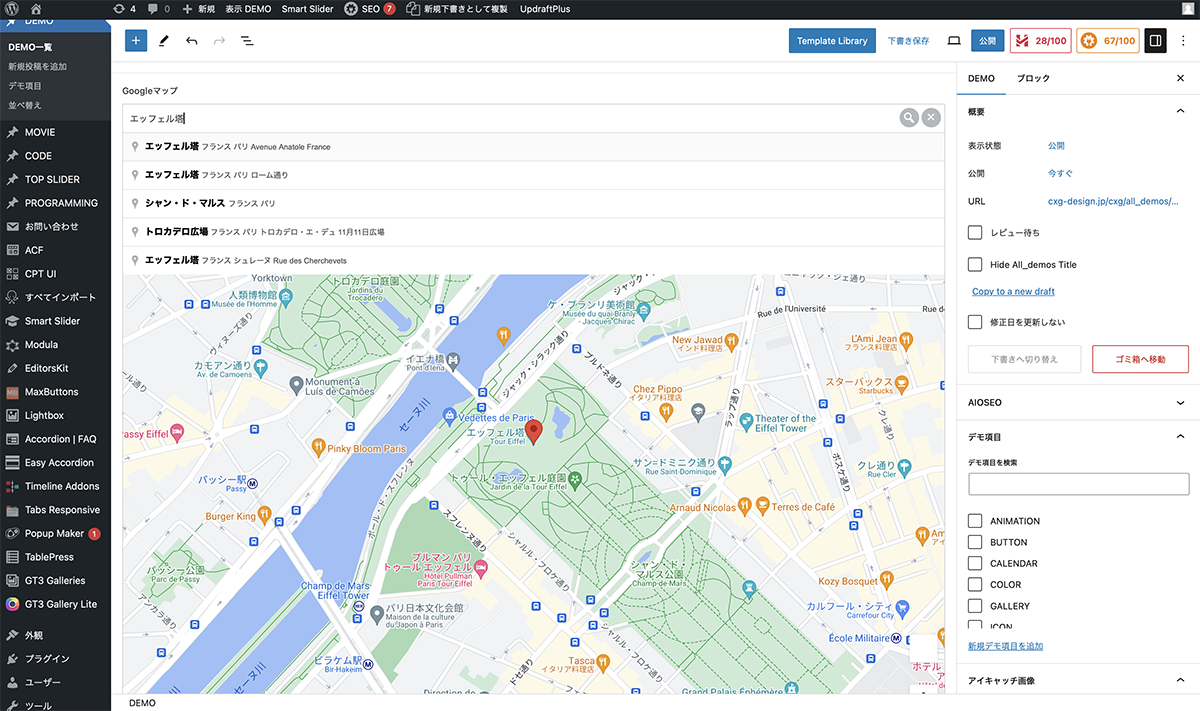
検索ボックスに「エッフェル塔」と入力
マップの幅
今回のACFは、テンプレート用のプラグインです。決められた場所に、設定した大きさで表示されます。高さはACFで設定しましたが、幅は、投稿のスタイルが有効になります。
以上で、今回の説明は終了です。今回は、地名を入力しましたが、住所を入力したり、マップをクリックしてもマーカー指定できます。投稿テンプレートで、店舗数が増える場合など、Googleマップを簡単に設置できるので便利な機能です。